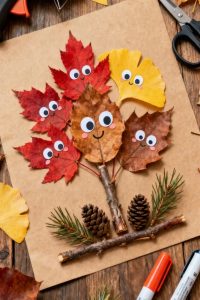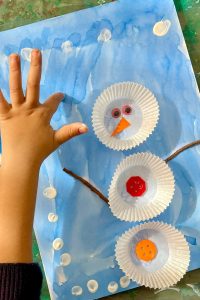

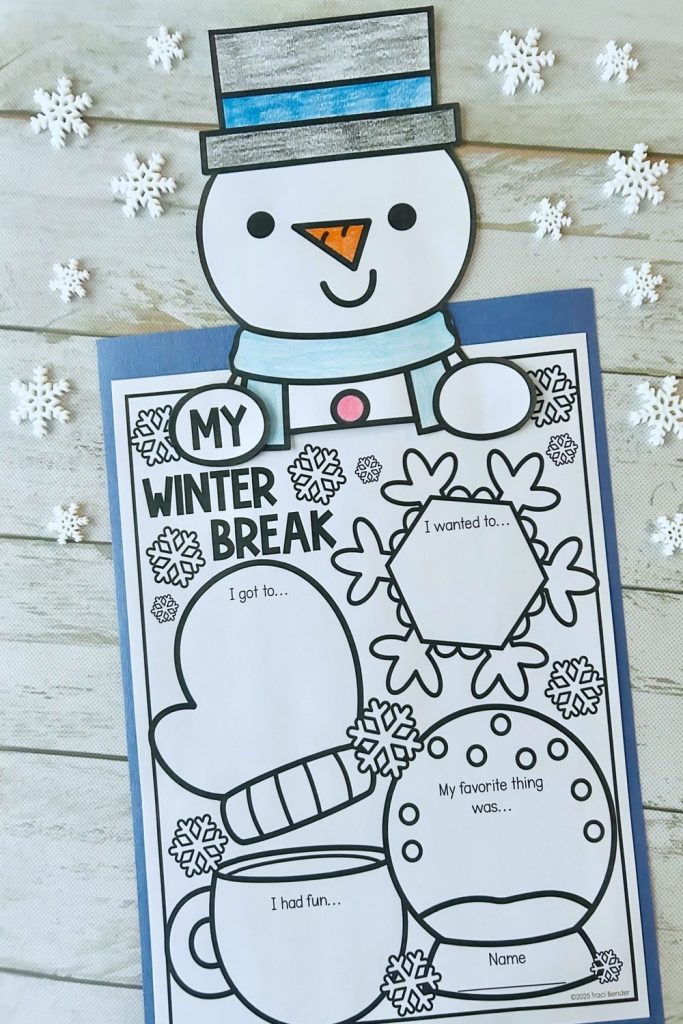
Do you want to keep kids busy? Is it cold out? A quiet class is a happy class. I have great art ideas. You can use old bits of card. We will make snow men. We will make snow flakes. These are fun to do. We use old things to make art. Let us make the room look like snow. Tell me which one you like best!
1. Whimsical Paper Plate Polar Bears

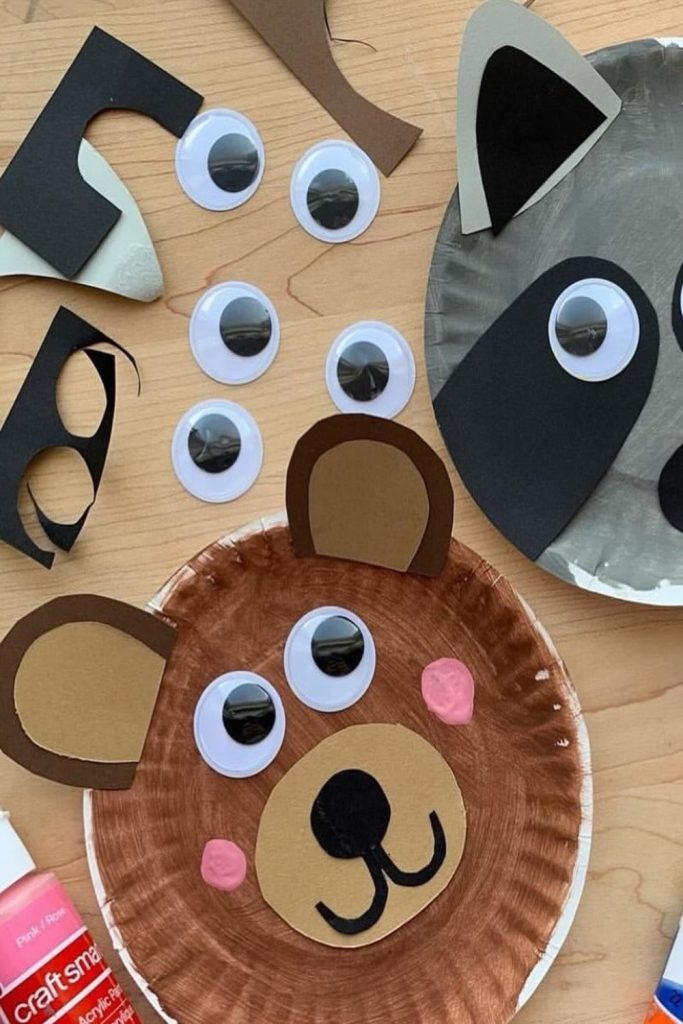
It is fun to use plates. You can make white bears. This is good for small kids. They can touch the soft fur. Glue down bits of white paper. Use dots for eyes. Use a small ball for a nose. This helps small hands. Tell the kids where bears live. Give the bear a scarf. It will look cute on the wall!
2. Sparkling Crystal Borax Snowflakes
This is art and science. It looks like magic. Kids watch crystals grow. Bend a wire into a star. Put it in the mix. Wait for one night. It will look like real ice. This is a good way to learn. Hang them up high. They will shine in the sun!
3. Upcycled Cardboard Tube Penguins
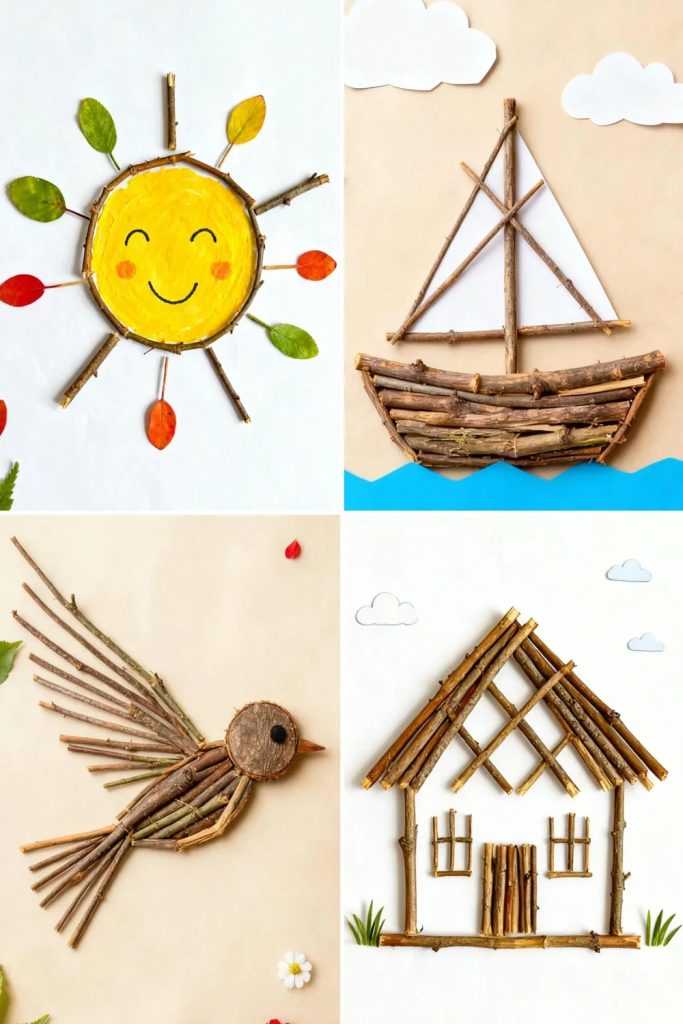
Do not throw away rolls. They make cute birds. This shows kids how to reuse. Use black paint. Use orange paper for the beak. You can add a small hat. Kids like to name them. Put them on a shelf. It is cheap and fun for all.
4. Puffy Paint Snow Scenes
Puffy paint feels soft. Mix soap and white glue. This makes thick paint. It stays soft when dry. Kids can “build” snow on blue paper. It feels like clouds! Add shine while it is wet. It will look like real snow. It is messy but fun. The kids will laugh a lot.
5. Handprint Winter Cardinal Art
Red birds look good in snow. Use a hand print to make a bird. Paint the hand red. Press it on paper. Use your fingers to add snow. This is a nice gift. Talk about birds in the cold. The red looks great in the room!
6. Geometric Masking Tape Snowflakes

Try tape art for a clean look. Put tape on paper like a star. Paint over it with blue. When it is dry, pull the tape off. A white star will be there! This is fun to see. It teaches kids about shapes. Use wet paint to mix colors.
7. Pinecone Snowy Owls

Go for a walk. Find pine cones. Put white fluff in the cracks. This makes a soft owl. Add wings and big eyes. This brings the woods inside. It is a quiet task. If the cone is closed, put it near heat. It will open up!
8. Melted Crayon Icicle Art
A big person must help. Use a tool to melt old wax. Put blue bits at the top. Let them drip down like ice. This uses up old bits of wax. Kids love to watch it melt. It looks like real art!
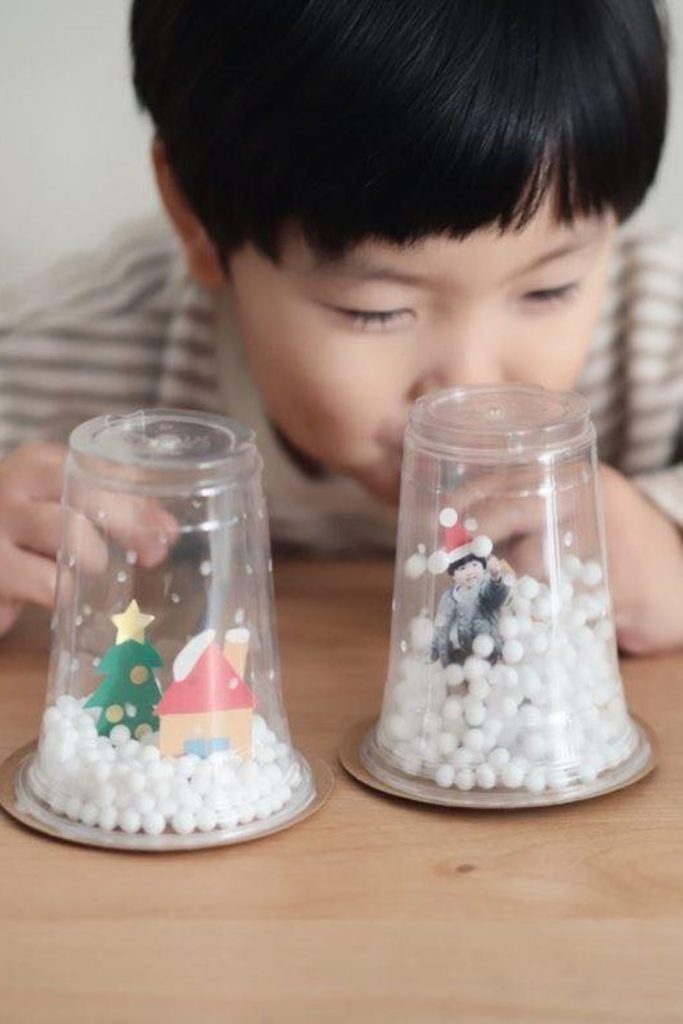
9. Mason Jar Winter Terrariums
Kids love small worlds. Use a glass jar. Use salt for “snow.” Add small trees or deer. You can add small sticks too. It is like a globe with no water. These are nice gifts. They look great on a table.
10. Symmetrical Coffee Filter Snowflakes
These are easy to cut. Use pens to color the paper. Spray a bit of water to mix colors. Let it dry, then fold and cut. The colors look like a dream. Tape them to the glass. The sun will make them shine!
11. Popsicle Stick Sled Ornaments
A few craft sticks and some glue are all you need for these vintage-style sleds. Painting them bright colors and adding a twine “pull” string makes them feel so nostalgic. I usually have my students write their names and the year on the bottom. It’s a sturdy craft that teaches basic construction and patience (waiting for that glue to dry is the hardest part!). You can even glue a small photo of the student onto the “seat” of the sled for an extra personal touch.
12. Bubble Wrap Snowy Printmaking
If you have leftover packaging material, don’t toss it! Bubble wrap makes the best “snowy” texture when used as a stamp. Dip a sheet of bubble wrap into white paint and press it onto dark paper to create a perfect field of falling snow. It’s a great way to explore printmaking without needing fancy equipment. I like to have the kids cut out silhouettes of winter trees from black paper to glue on top of their bubble-printed backgrounds. The contrast is really striking.
13. Fork-Painted Snowy Evergreen
Who knew a plastic fork could be a paintbrush? By dipping the tines of a fork into green paint and pressing them outward, kids can create the “needles” of a pine tree perfectly. Then, use a fingertip to add “snow” to the branches. It’s a fun, quirky way to show kids that anything can be an art tool. My students always laugh when I pull out the cutlery for art class, but they are always impressed by how realistic the pine branches look!
14. Salt Dough Snowflake Keepsakes
Salt dough is a classroom staple because it’s so cheap and versatile. Mixing flour, salt, and water creates a “clay” that kids can stamp snowflake shapes into. Once baked and hardened, they can be painted with metallic acrylics. I love the weight of these; they feel like “real” decorations. We often add a hole at the top before baking so they can be hung. It’s a wonderful sensory activity that keeps little hands busy and productive.
15. Yarn-Wrapped Winter Stars
Cardboard stars wrapped in variegated blue and white yarn create such a cozy, hygge vibe. This is an excellent activity for building hand-eye coordination. I usually pre-cut the star shapes from old shipping boxes and let the kids go to town with the yarn. It’s a very “quiet” craft—perfect for that hour after lunch when everyone needs to settle down. The finished stars look great strung together as a garland across the front of the teacher’s desk.
16. Mitten Match-Up Felt Crafts
Cutting mitten shapes out of felt and “sewing” them together with yarn (using a plastic needle or just lacing through pre-punched holes) is a fantastic introduction to textiles. Kids can decorate their mittens with buttons, sequins, or fabric scraps. It’s a cozy, warm craft that feels very seasonal. I’ve used these for a “mitten tree” in the hallway where each student writes a warm wish for the New Year on a tag attached to their mitten.
17. Clothespin Snowmen Characters

Wooden clothespins make the cutest little standing figures. Paint them white, draw on a face, and use a scrap of fabric for a scarf. These are great because they can actually “clip” onto things—like the edge of a notebook or a gift bag. I find that kids really enjoy the storytelling aspect of this craft, often creating a whole family of “clothespin people” to play with during indoor recess.
18. Stained Glass Tissue Paper Snowflakes
Using contact paper and squares of blue and white tissue paper, kids can create “stained glass” art for the classroom windows. There’s no glue required, which makes it a very “clean” craft (a teacher’s dream!). When the winter sun hits the window, the whole room fills with a soft blue light. It’s an easy way to make a big visual impact in a large space without spending a lot of money.
19. Cotton Swab Snowflake Mandalas
Instead of brushes, give the kids a handful of Q-tips. By dipping the ends in white paint and dotting them onto dark paper, they can create intricate, dot-matrix snowflakes. It encourages them to think about symmetry and patterns. It’s a very meditative process. I’ve found that even my most “active” students tend to slow down and really focus on the precision of the dots. It’s a great exercise in patience and detail.
20. Paper Strip Curly Snowmen
Instead of a flat drawing, try making a 3D snowman using loops of white paper. By gluing paper strips into circles of different sizes and stacking them, the snowman “pops” off the page. Adding a little construction paper hat and some “stick” arms makes it complete. It’s a fun way to introduce basic paper engineering concepts. My students love how they “wobble” a little bit when you move the paper! Wrapping up a season of winter classroom crafts for kids always leaves me feeling a bit nostalgic, as the classroom is now filled with the colorful, handmade evidence of our winter days. We’ve explored everything from upcycled tube penguins to shimmering borax crystals, proving that you don’t need a huge budget to create something magical. These DIY winter craft projects are about more than just the end result; they are about those moments of quiet focus, the pride in a finished ornament, and the joy of creating together. I hope these DIY craft ideas have inspired you to clear off the desks and get messy! Which project are you planning to tackle first? I’d love to see your results, so feel free to tag me or share your favorite “craft-fail-turned-win” in the comments below. Stay cozy and keep crafting!